
How to crop an image in Windows Photos...
This quick tutorial shows you how to crop, save and adjust an image just using the Windows Photos application. For demonstration purposes, I have used my Jug of Daisies precoloured topper sheet, but this would work with any PNG or JPEG image file...
Double click on your image to Open it...


This is a simple way of saving individual elements of the full topper sheet and as this file is in a PNG format, will have a transparent background, meaning that you can import it into a graphics program and layer it over other designs...
Resizing images using your printer settings...
Once you've saved your individual images, you can change the size of how they print out by altering the settings in the Windows Print application.
Double click on your image file to open it and then click the Printer icon in the top right hand corner...
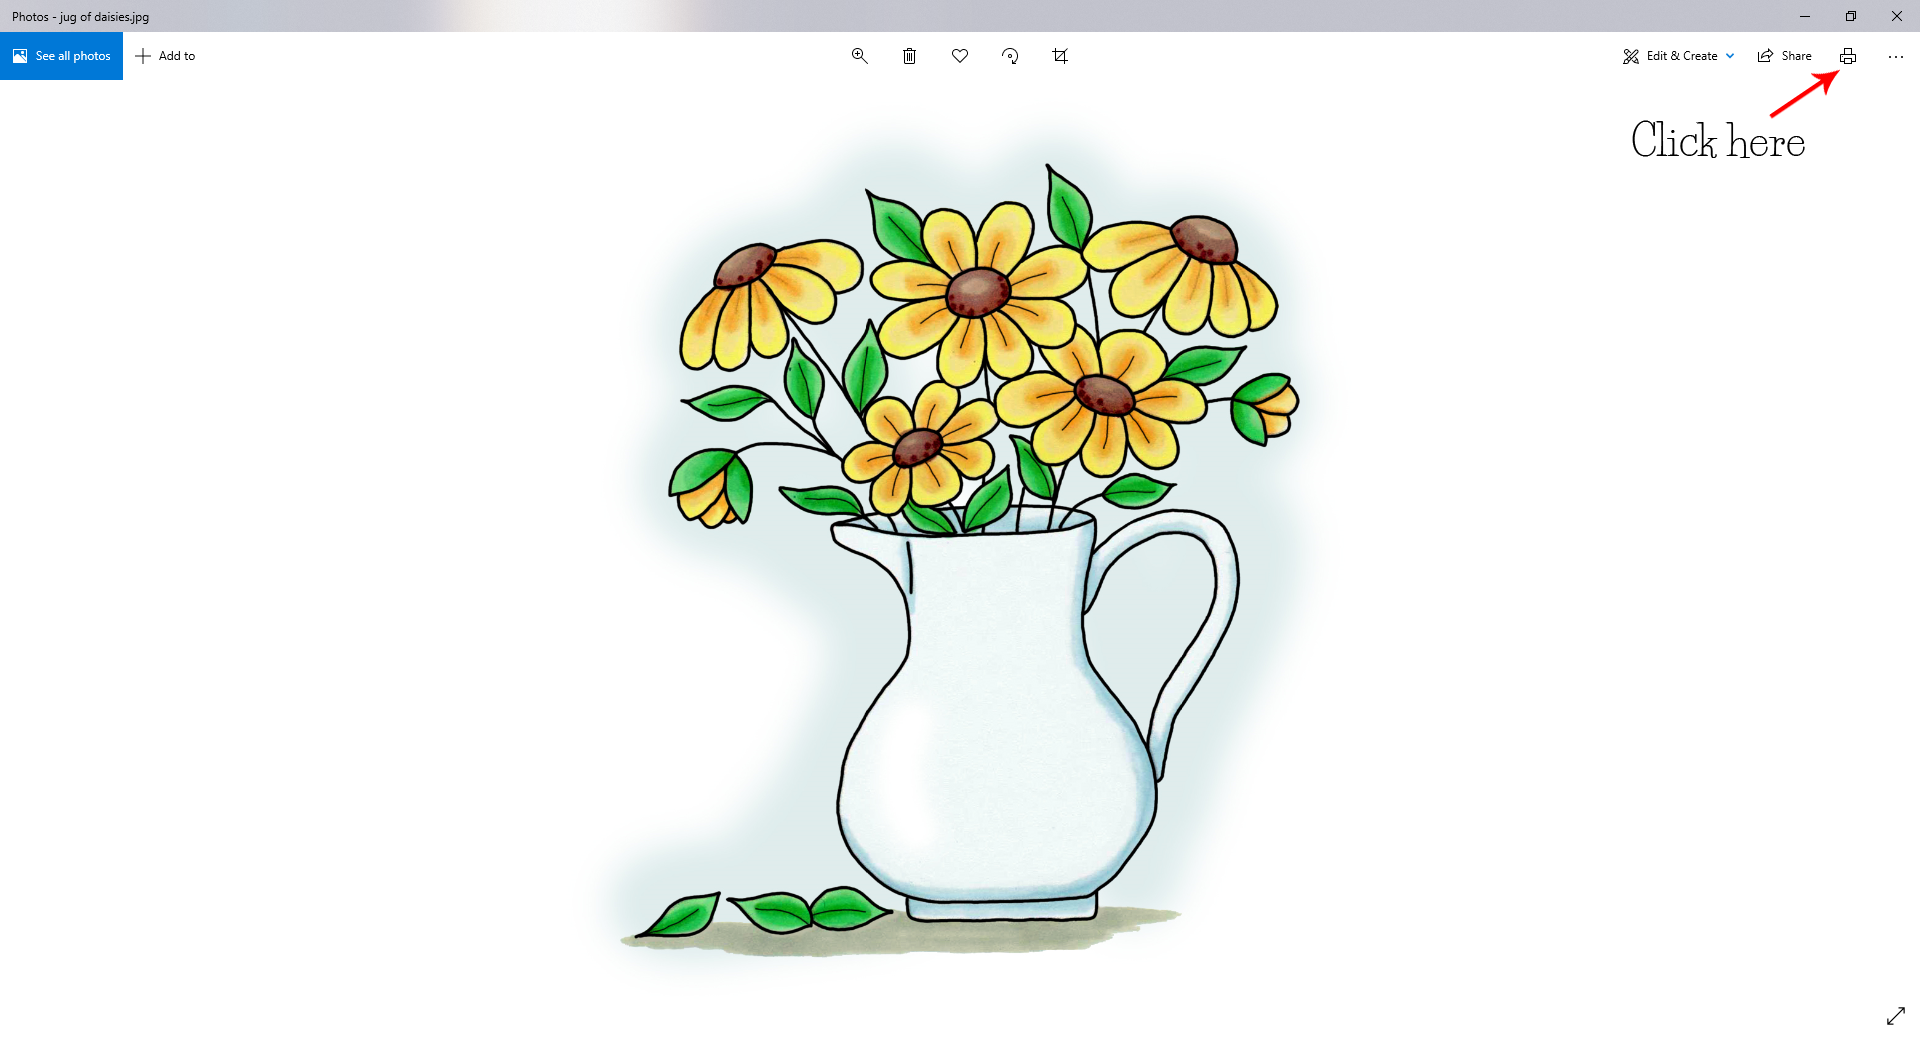
The Print Window should open up...

Ensure that the 'Let the app change my printer preferences' is set to On.
To change the Paper Size that you are using, click on the arrow next to the Paper size box and choose your size of paper - I tend to cut an A4 sheet down into quarters as this is roughly the size of a 4 x 6 Photo paper and place it in the drawer that takes smaller paper sizes in my printer, or if you have a top feeder, adjust the paper guides to hold the paper in position.
If I printed with the settings as above, this would print the image at A4, filling the page with the image - this can be good if you want to create a large shaped card.
By changing the Photo Size, you can change how big the image is on the page from 6 x 8cm (Wallet) up to 3.5 x 5 inches, 4 x 6 inches, 5 x 7inches and 8 x 10 inches, but if the Paper Size is still set to A4, it will print the image to your chosen size in the centre of the paper - which is why I cut paper down and change the Paper size setting too.
If you Choose Full page, the image will be sized to fit whatever size paper you have in the Paper Size setting...

If you scroll down through the menu, you will see more options.
I tend to leave my Page Margins on Normal and the Fit setting to Shrink to Fit, as this will size your image whether you are going larger or smaller.
If you click the More Settings option, another window opens allowing you to change Output Quality, Colour or Monochrome printing and whether you want to print Borderless. I tend to turn off borderless printing when I can, as I find that my printer takes a lot longer to print and am usually cutting papers down, so don't mind a white border but it's up to you.
No comments:
Post a Comment